Thursday, 21 April 2016

Extra Life Drawing sessions


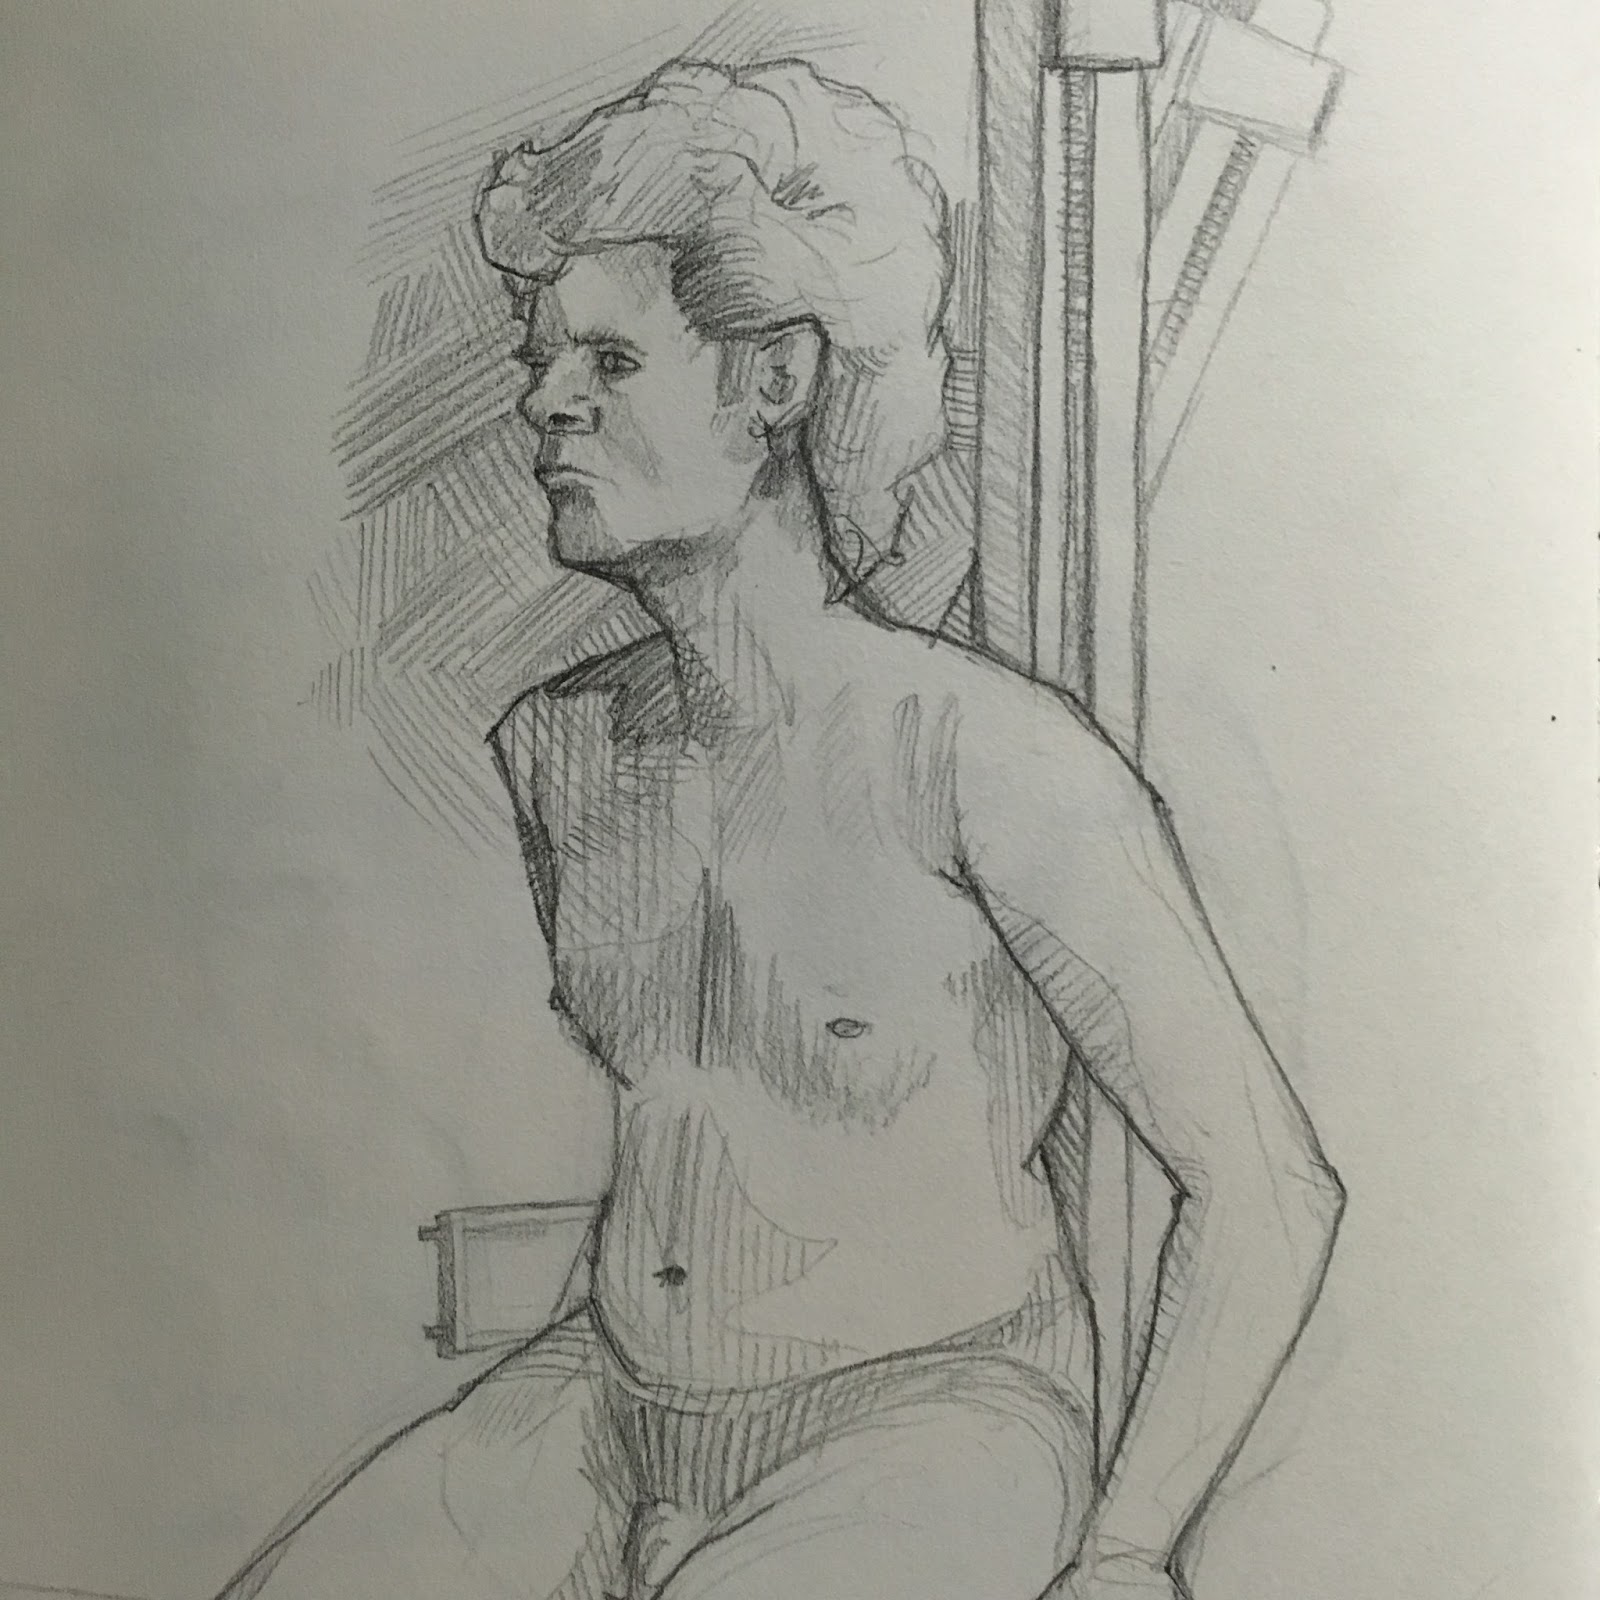
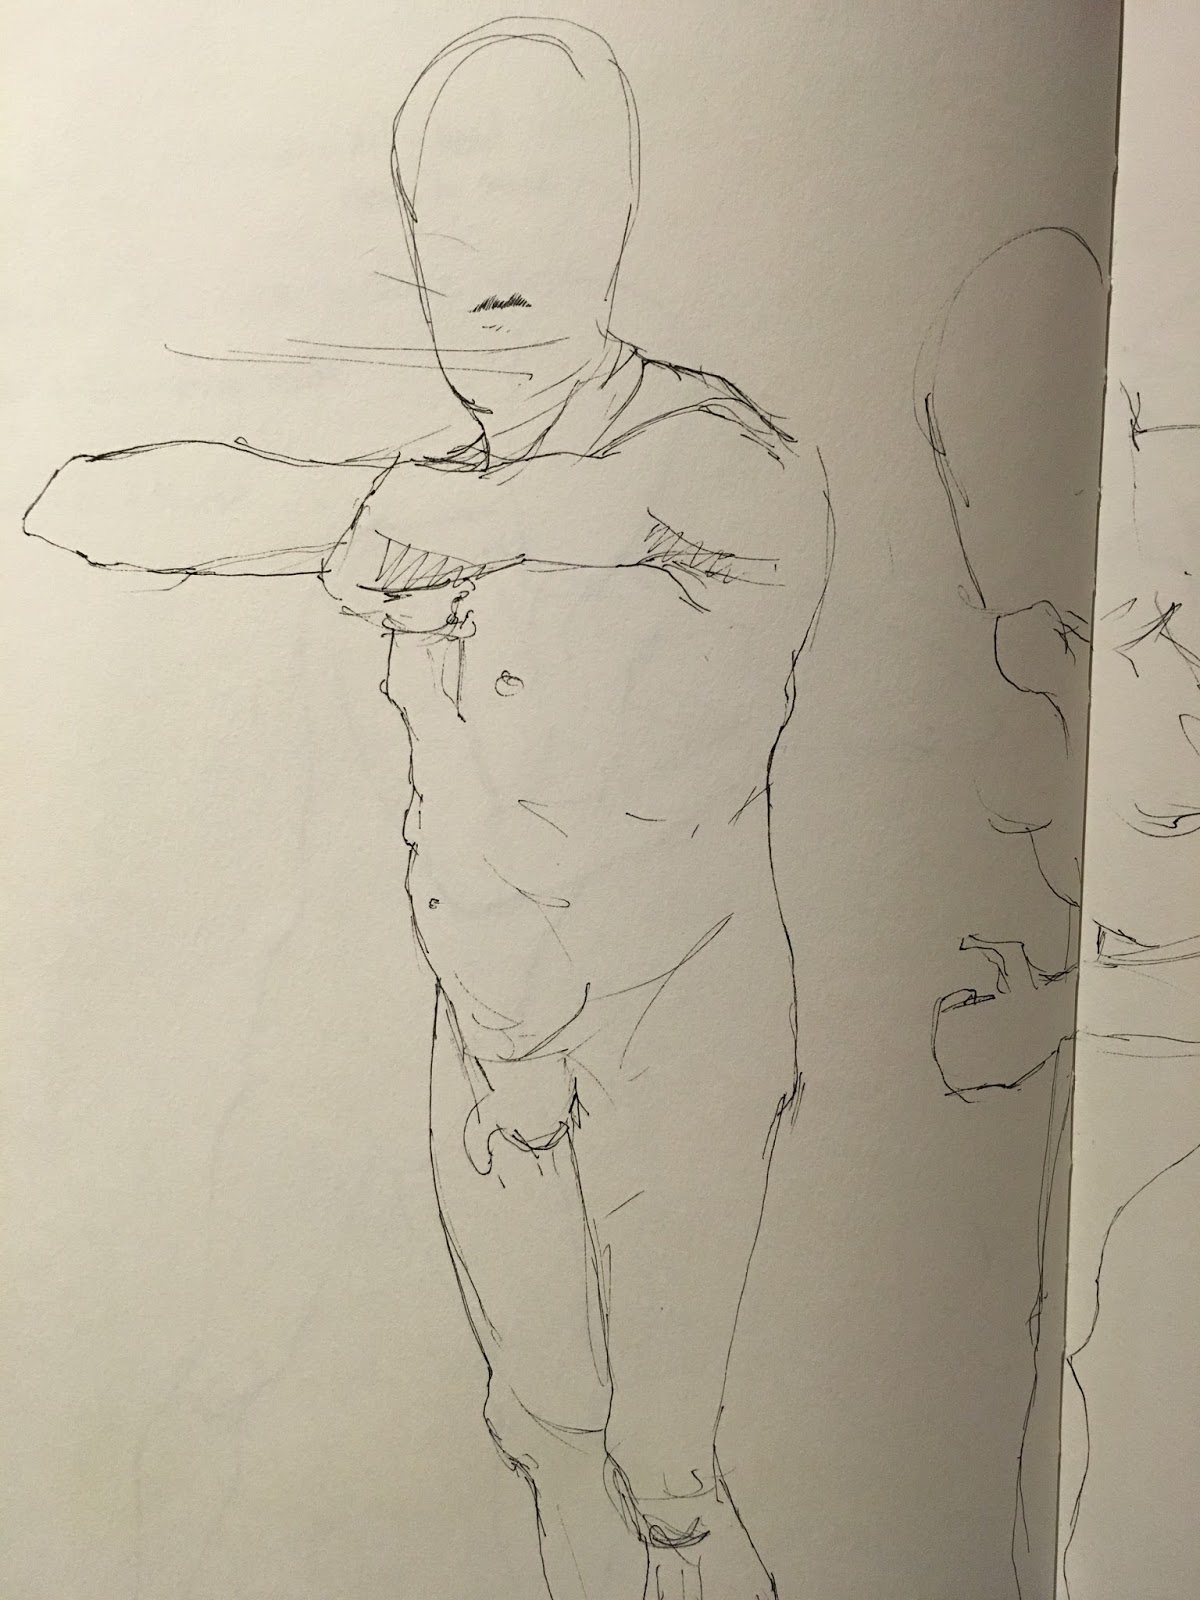
Here are a numerous amount of sketches from a few weeks worth of extra life drawing sessions. I have been determined to improve my anatomy and the overall quality of my sketches through constant practice. From all of these sessions I feel a lot more confident in my ability to draw the human body, more specifically the torso. My observational skills have grown a comparable amount since the beginning of the year when I first started life drawing. I still feel a little weak when it comes to perspective or the face, but that will come with practice.

I need to work on capturing more tone within my sketches rather than the overall form. Working like this will give me a larger understanding on the effect lighting has on the body which will help with my 2D concept art and 3D modelling. Applying what I have learned from life drawing into my 2D work, however, is a completely different thing!

Hopefully with more sessions I will be able to translate my skills easier.


Monday, 18 April 2016

Yet another creature design


I thought I'd make some more 2D based work so I don't get too rusty from all of this 3D! I tried staying a little loose whilst considering areas of detail for contrast. I worked in black and white as i'd like to contrast my tones more by using more intense areas of shadow and brighter highlights and rim lighting.

Anything to draw more creatures really~

Saturday, 16 April 2016

Final Time Machine


Similarly to me reworking my pillar, I decided to take my time machine further. I decided to flesh out the internals and workings of my device and push my tri count closer to the limit given. I'm really pleased with my outcome for this version of my time machine. I took what worked from my previous model and applied it to this one whilst trying to retain my previous ideas and intentions. I wanted to add more "narrative" to my model through additional parts such as switches, buttons and straps. This could allow the player to see how the object may be used or how it all comes together.

Substance render

 Ultimately I decided to scrap the snow based textures on the model as I felt it took more from the model than what it gave. I stuck with a more wear and damage based appearance. I also took advantage of the improved internals and played with a variety of materials to give a more varied and realistic look to each part. Substance allowed me to quickly and efficiently test out combinations and vary my normal maps by utilizing maps and layers.

Below is an image of my final render within Marmoset Toolbag 2.

Toolbag render - 9990 tris
AO

Emissive

Albedo

Normal

Metallic/Roughness

Final Pillar

Final Damaged Pillar - 2094 tris
After revisiting my pillar I decided I was ultimately unhappy with the final outcome. I decided to rework most of the maps on the pillar and focus on creating a more worn and weathered look. Below is the final render within Toolbag. 

I am much happier with this outcome compared to my previous. I also fixed some minor issues involving some displaced vertexes and deformation on some faces. I find myself slowly being able to understand Substance Painter more and I feel like the overall quality of the textures has increased and has helped my to create a more believable material.

Toolbag is also surprisingly easy to use and is very user-friendly. High quality renders are much easier to create than I first anticipated! I had a few issues involving importing maps into Toolbag, however. This was remedied by using the UE4 template within the preset materials.

albedo


normal

metallic/roughness

AO

Emissive


Tuesday, 29 March 2016

Time Machine


Above were my initial silhouettes. I originally wanted to create a more organic device rather than the typical mechanical theme. Unfortunately I think I overshot for most of these designs and I struggled to get any of them to come together in zBrush or Maya.
---
My idea for the time machine project was to focus on a device rather than a full-scale machine. I wanted to create something that was somewhat compact but bulky at the same time. Alongside this I thought it would be interesting to take a more "experimental" approach to the narrative of the device, making it reminiscent of realistic military casing with fantasy elements for juxtaposition.


My initial model (above) was scrapped due to going way over the limit of tris without even coming close to finishing the low poly (18k!!) In the end I think this was due to the overuse of edge loops in attempt to create a smoother model without nailing the low poly first. I attempted to save the model by deleting unnecessary edge loops, however at that point I believed it would be easier just to start over!

Below is the final model.

Time Machine - 8202 tris
Sticking with the juxtapose of realism and fantasy, I opted for a concept where a key powered by a experimental crystal would allow doors to become rifts into the future or past (depending on the key used and the age of the door). The user can only travel along the lifespan of the door from when it was first installed to its destruction.

When thinking about damage for the casing, I thought about the experimental element being quite radioactive, thus I chose a more metallic and industrial casing rather than the typical polymer military casing. This allowed me to apply rust and scratches quite deeply into the metal rather than simply scuffs on plastic. Sticking to the narrative of the device I applied groves in the casing to hold the crystals to make the device feel like it needs to be powered more than usual. Applying a warning sign to the back of the case also reinforced the idea of an experimental device and the radioactivity of the crystals.

 I also wanted to convey a "lost" feel to the device - snow and frost seemed to compliment the rusted and degraded surface quite well. I applied what I had learned from texturing my pillar in Substance  Painter to improve the quality of my maps and variation of texture.

I could imagine a scene where the player would stumble upon the device in heavy snow, with dim light emitting from it.


If I were to improve the model more I would focus more on the function of the device itself. I would also refine the low poly a little more as I feel it looks a bit too rugged. Some of the textures are also warped slightly due to more problems with UV mapping. Planar projecting the various faces on the model kept causing the previous projections to be deleted thus I could not UV the entire model by hand. I had to opt for the automatic unwrap and try my best to make sure I had as little errors as possible.
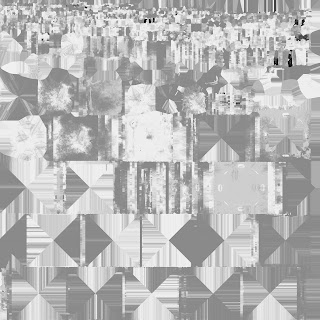
Ambient Occlusion

Emissive

Albedo

Height

Metallic

Normal

Roughness

UV

Monday, 28 March 2016

Damaged Pillar


These are the silhouettes I created before I began modeling. I considered a range of simple and more exotic designs. At first I wanted to create a sci-fi themed pillar, but after problems modeling some of the more complex designs I decided on a simpler and interesting silhouette. In the end I picked #5!


The above pillars were three variations of a model I created. Originally I wanted to create a diverse range of varied damage from weather to erosion. As these models already took long enough to make on their own I instead decided to choose just one and take it forward to bake and texture.

After deciding on the third pillar due to the less extreme damage and more organic chips and cracks, I baked it within xNormal to get a normal map and an ambient occlusion map. Due to problems with the UVing of this model, I ran into some pretty horrible results from my bakes!


I tried multiple settings to resolve the problem but to no avail. I even tried re-uving the model completely however this only made the problems I encountered worse!

At this point I decided it may be an issue with the mesh itself so I started over with a similar design (below) yet a more blockier appearance (it actually looks like it could stand as well!). Overall, the bakes came out much better on this model than the previous with only a few errors in the mesh itself. I textured the model in substance painter and experimented with masking and layers to try and vary some of the damage. I mainly wanted to give the impression that the pillar had been weathered and eroded from the elements rather than completely decimated like my early iterations. For critique I feel like I could have taken the damage a little further and spiced up my normals a little more as well.

Using an emmisive map I added a very sci-fi/fantasy-Esq rim light around the metal beam which worked nicely enough. If I were to improve this, I would paint around the edge of where the emmisive map touches the metal to bleed the glow a little more.

In all though i'm happy with the outcome as I have learned a lot in the making of this asset which has definitely given me an alternate view on asset creation! I will take most of what I have learned from this project and apply it to the next - a time machine!

Damaged Pillar - 2094 tris
albedo

Ambient Occlusion

Emmisive

Metallic

Normal

Roughness

UV


Personal Work - Propane tank and explosive barrel.

Propane tank - 2530 tris

Explosive barrel - 1040 tris
Here are two objects I created in maya and exported into substance painter. I opted to use substance painter instead of zbrush for my textures as I wanted to see what level of realism I could achieve without relying on creating damage.

I feel like both of these models came out somewhat well due to their simplicity while at the same time each model allowed me to learn something new. For example, I tested methods of creating holes in a mesh for the propane tank and I tested multiplying albedo maps within UE4 for the explosive barrel.

For improvement I should consider more efficient manners of modeling my low poly meshes as I tend to end up with a large amount of unneeded or bad geometry in the end. I should begin optimizing while I model instead of at the end to reduce this and to form good habits.